Marketing – Campaign List
Marketing
Campaign List
Marketing can take many forms for your
business, and staying ahead of the Mortgage industry requires managing many
marketing campaigns at once. In the BNTouch CRM, you can stay apprised of your
various ongoing campaigns easily using the Marketing Campaign List.
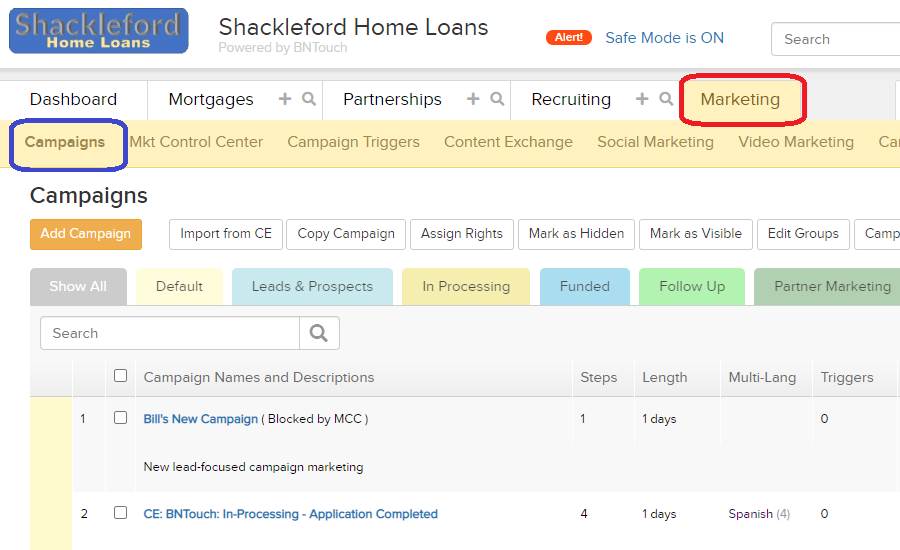
To access your list of available
campaigns, simply click the Marketing tab from anywhere in BNTouch. By default,
the Campaign List will display when you open this tab. If you are working
within campaigns or otherwise navigating this tab, you can always return to
this screen by clicking the “Campaigns” sub-tab.
Campaign List
Entries
From this list, you will be able to see a
brief overview of the marketing campaigns in your CRM. They will be listed as
rows below, and you can always find any campaign using the Search Box above the
list.
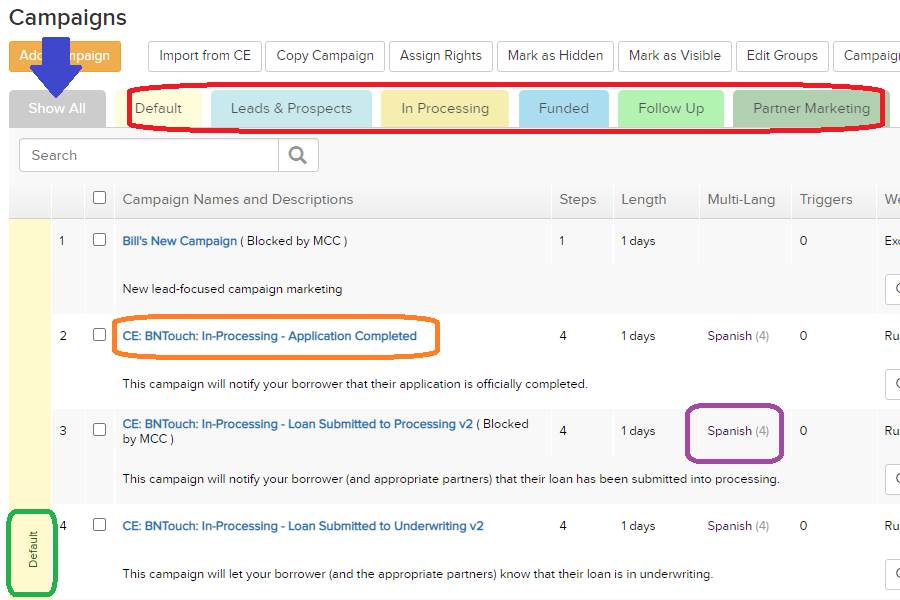
Campaigns are also sorted by “Group.”
You’ll notice that the color to the left of a campaign will have a group name
listed; you can filter the list to show only a specific group by clicking the
tab of that color at the top of the page. To view the full list again, just
click “Show All” in the top-left corner.
For each campaign, a Name will appear in blue and a short description will show beneath it. You can
click this blue Campaign Name link to access the Step List for the campaign. If
you want to learn more about editing the steps in an individual campaign,
please watch our “Adding
and Using Campaign Steps” training video in this series.
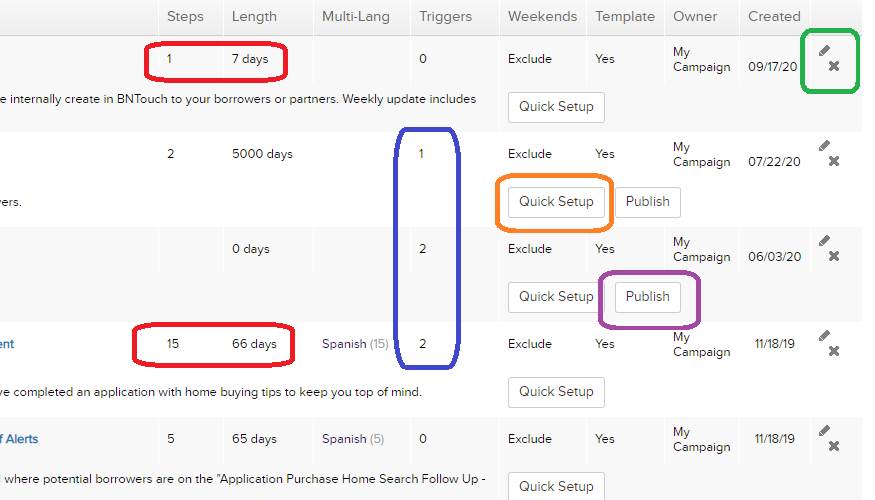
Additional columns to the right will
display further information about the campaign. The “Steps” column will show
how many steps are contained in the campaign, and “Length” will show how many
days separate the first and last step.
If the campaign has multi-language
support, the available languages will display along with the number of steps
that are supported in that language.
Campaigns that have a non-zero number in
the “Triggers” column are “Automated Campaigns”. This means that certain
“trigger” conditions have been set for when and how the campaign is started for
clients in your CRM. The number in the “Triggers” column represents how many
criteria are set for the campaign, not how many times the campaign has been
started this way.
If the campaign is set to run on weekends
or exclude them from its interval count, “Run” or “Exclude” will be shown. If
“Yes” appears in the “Template” column, that campaign uses the default template
for your account and will override any templates selected for steps within the
campaign.
The owner of the campaign and the date it
was created will appear to the right, along with an “Edit” pencil icon and
“Delete” X icon. While clicking the campaign name will bring you to the Step
List, clicking the “Edit” icon will let you change the settings of the
campaign.
The “Quick Setup” button for a campaign
will open a wizard that will guide you through adding recipients and starting a
campaign. To learn more about this feature, please watch our “Quick
Setup Marketing Wizard” training video in this series.
If you want to make a campaign you’ve
created available for other BNTouch users, click the “Publish” button to add it
to the Content Exchange.
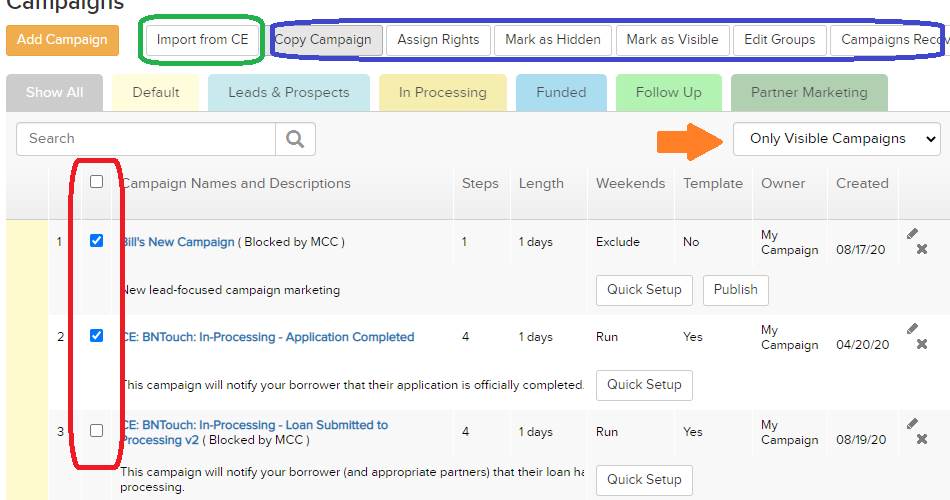
Checkbox Options
To modify several campaigns at once, you
can use the checkboxes to the left of a campaign’s name and the buttons above
the list.
“Import from CE” will take you to the
Content Exchange, where you can find premade campaigns made available by
BNTouch and its users.
“Copy Campaign” allows you to duplicate
selected campaigns, including all steps and settings. Be sure to rename
campaigns copied this way.
To make another CRM user the owner of a
campaign, use the “Assign Rights” button. This will allow them to edit or
remove the campaign as if they were the creator.
The “Mark as Hidden” and “Mark as
Visible” buttons allow you to show or hide selected campaigns. This may be to
trim your campaign list, avoid editing original copies of campaigns, or any
other reason, but you can always view Visible, Invisible, or All campaigns
using the menu in the upper-right.
To change the colored campaign croups,
customize their names, and re-order them, click the “Edit Groups” button.
Lastly, if any campaigns have been
deleted and must be recovered, click the “Campaign Recovery” button. This will
show any deleted campaigns, and you can either permanently remove them or
restore them to your Campaign List from here.
Want to Learn More?