Administration – Images Tab
Uploading User
Images and Logos
To get the most out of your
communications through the BNTouch CRM, you will want to upload an image of
yourself and a logo for your company for use in emails and marketing. This adds
a personal, authentic touch when talking to your clients and partners. For
offices with several user accounts, you can upload and configure these pictures
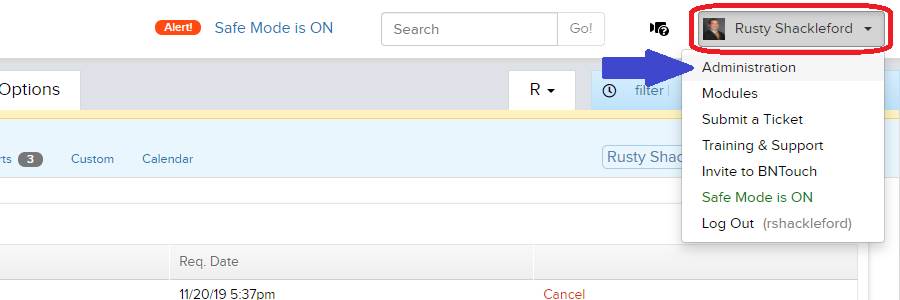
in the “Images” tab of the CRM Admin. In the User Menu in the upper-right
corner of the screen, click “Administration,” then open the “Images” tab. Only
administrative users can access this area of the CRM; please contact your
administrator if you need help and do not have access.
User Image and
Logo List
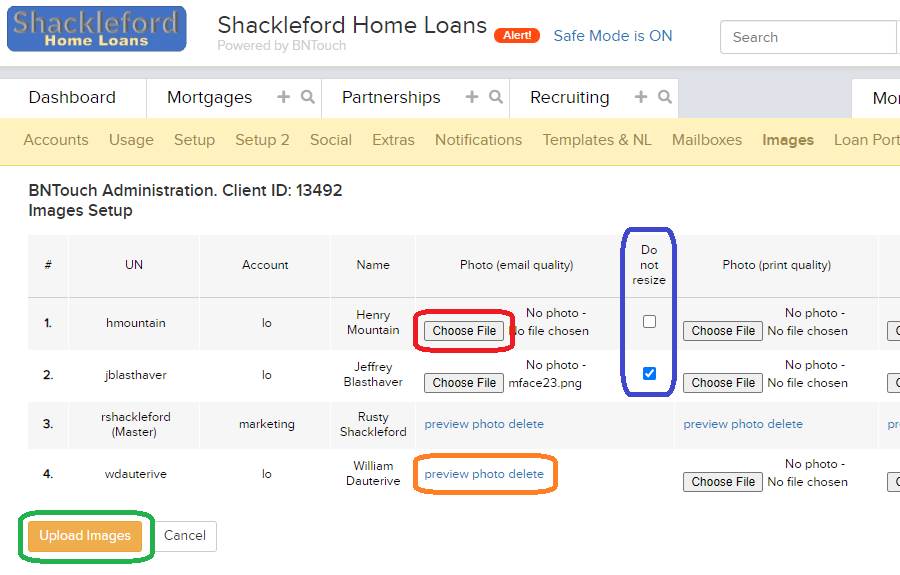
Here, you’ll see a list of all users for
your BNTouch account sorted by name. For each user, you’ll see a row with three
image upload buttons. Here, you can upload custom images to represent the user
in their communication and marketing. Use the “Choose File” buttons to find
.JPG image files that are less than 273kb on your computer. Then, click “Open”
to upload each file.
You can upload a higher-resolution
version of each user’s photo and for use in print materials via the “Print Quality”
option. Lastly, you can upload a logo for that user’s branding. If you do not
want the size of your photo or logo image to scale in relation to the screen it
is viewed from, click the “Do Not Resize” checkbox.
Once you have the files selected, click the
“Upload Images” button below the list to save your changes. Once uploaded, you
will see links for each user to “Preview Photo” or “Delete” an image. If any of
your users already have images uploaded for their accounts, you can preview or
remove them using these links. If you remove any images, you can then upload
new files for that user.
Want to Learn More?