Options – New URLA1003 Form
Configuring 1003
Forms in BNTouch
1003 forms are an important part of the
mortgage process, so you need to be able to make the process of filling them
out and submitting them as easy and accessible as possible for your borrowers.
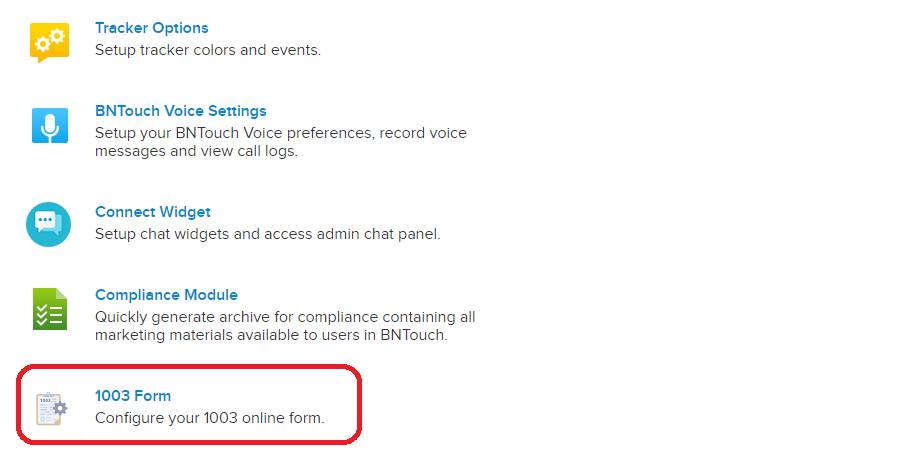
In the Options Tab of your BNTouch CRM, you can use the “1003 Form” section to
customize your form for your business. Here, various settings for the form are
sorted into three sub-tabs at the top of the page. These settings can only be
seen and modified by the master account holder.
Form Settings
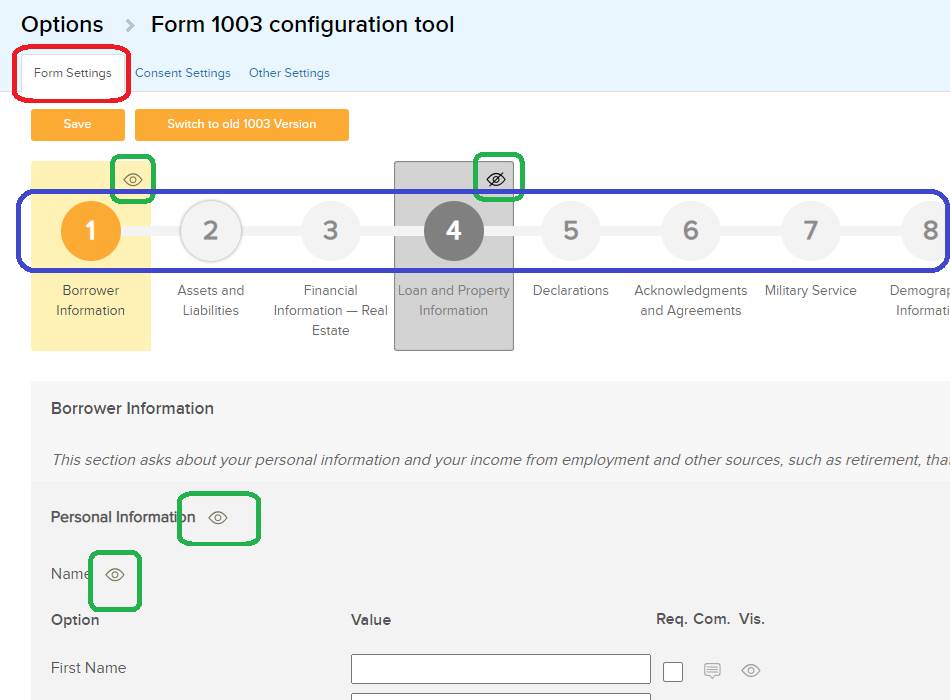
The first sub-tab, “Form Settings,”
contains a listing of the various possible fields for the 1003 form. Here, you
can choose what appears on your borrowers’ forms and what they need to enter
when completing them.
The top-most option here separates the
form into numbered sections. You can click any of the numbers above these
sections to display the fields contained in a particular section. You can also
elect to show or hide an entire section by clicking the eyeball icon for the
selected section. Within each section of the form, fields will be listed in
various sub-sections. Like before, you can hide or show any of these
subsections using the eyeball icons.
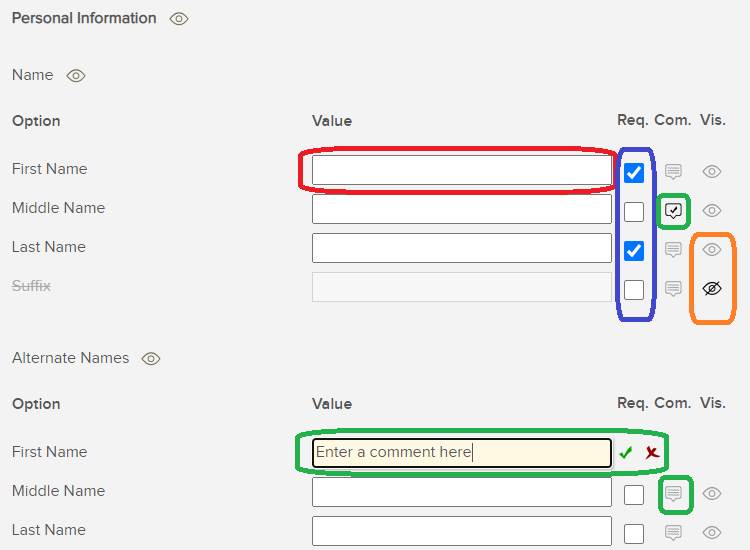
For each field, the name of the field
will display under “Option.” The next column will be a text box; the text
entered here will be default text that will appear when a borrower starts
completing the form. If you don’t want any default text to appear for a field,
leave this box blank. The checkbox to the right can be used to note any field
as “Required.” Borrowers will not be able to submit a form if any fields marked
as “Required” are empty.
The next column will have a “Speech
Bubble” icon. When clicked, a new text box will appear where you can add a
comment that will appear for the field. This comment will appear next to the
field when a borrower is filling out the form, so it can be used to provide
help or instruction for them. Enter the comment in the new text box, then click
the checkmark icon to save it. You can use the “X” icon to clear any comments
for a field.
The last column will have another eyeball
icon that can be used to hide or show any field. Whenever you add information,
change a comment, or toggle any setting for your 1003 form, be sure to click
the “Update” button at the top or bottom of the page to save the changes.
You can also switch between the new and
old versions of the 1003 form using the button above the section list. If you
switch from the old 1003 form to the new version, please be aware that any
currently incomplete applications in your clients’ loan portals will be
restarted. Any information they have entered in these partially completed forms
will be lost and not transferred to the new form. To confirm this action, click
the “Continue” button.
Consent Settings
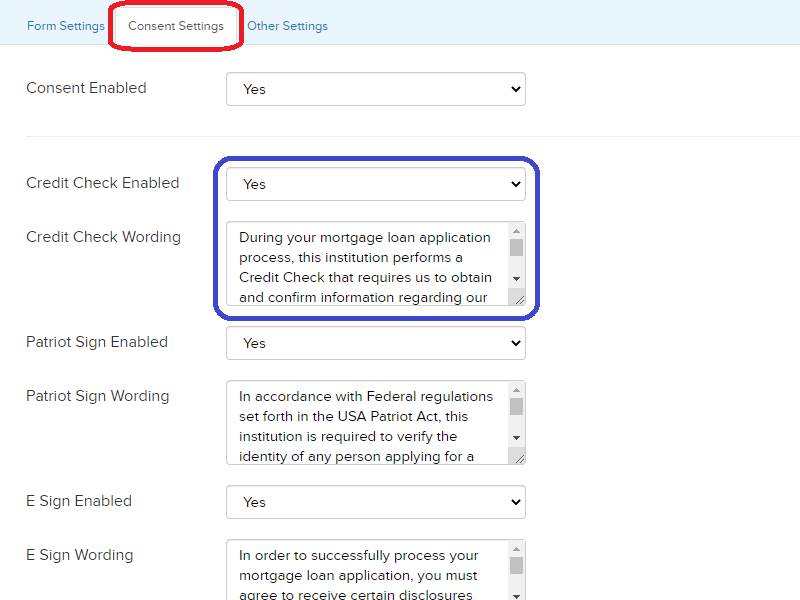
The second sub-tab, “Consent Settings,”
allows you to customize the prompts for consent that borrowers will see while
completing the 1003 form. The first menu option will enable or disable consent
prompts on the form, and the drop-down menus below will do the same for
individual elements requiring consent, including signatures for a Credit Check,
the USA Patriot Act, and completion of the 1003 form.
Below each menu, a text box will display
the message that will appear for each consent prompt. You can change any of the
messages that appear or use your own text. When finished, click the “Update”
button at the bottom of the page to save any changes.
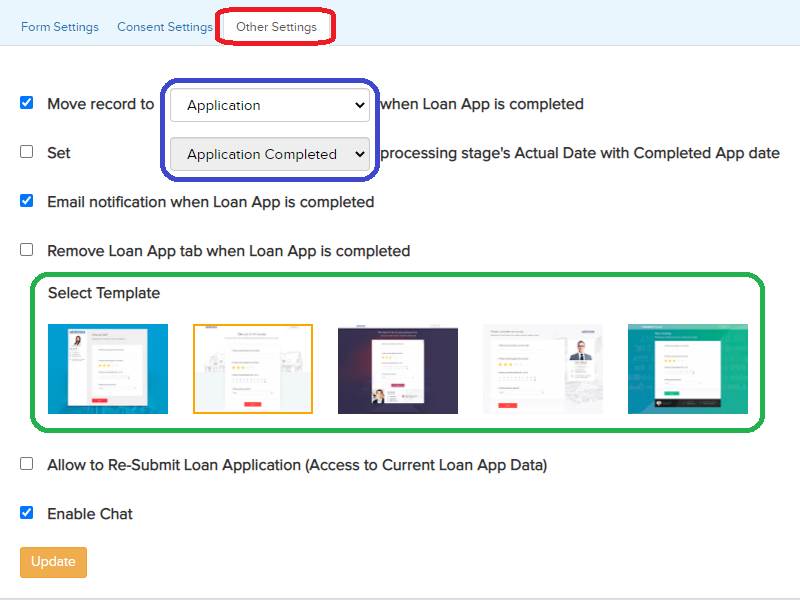
Other Settings
The third sub-tab, “Other Settings,”
contains miscellaneous settings for your 1003 form. The first option, if
enabled, will automatically move a borrower’s record to a new step in the
marketing sequence pipeline when they complete their loan application. The step
can be modified using the drop-down menu.
You can also choose to have the date that
a client completes the online 1003 form in their loan portal appear as the
“Actual Date” for an In-Processing stage of their record in your CRM. If you
enable this feature, choose which field will use the completion date using the
drop-down menu.
The next two options also automate
actions when a borrower completes their 1003 form, including sending you an
email notification and removing the Loan App tab from the borrower’s portal
site.
Below, a style template can be chosen for
the 1003 form page. To enable live chat with the borrower while they fill out
the form, check the “Enable Chat” box. When finished, click “Update” to save
any changed settings.
Want to Learn More?
